I’ve ghosted you for a while! Summer came and went just like my youth and the gleam in my eyes.
Since my last post, I’ve done quite a bit, if I do say so myself.
I sewed my niece a beach cover up (it’s an ice cream cone!) and a swim rash guard (it has pink donuts!). These projects did not go as planned.
For one, the first beach cover up I tried using was Spoonflower’s free pattern and their recommended minky and cotton sateen fabrics for a price of more than it was worth. It must have been a property of the fabrics that requires a more advanced sewist and that is not I. My niece’s head did not fit through the neck hole and she has a normal-sized head, so that was on me. The idea was very cute, but the execution was poor. I tried again with cupcakes and sprinkle towels from Amazon and it worked beautifully! I unfortunately did not take any photos of that beach cover up.
Then, the rash guard for my niece. Oh god. There are two things you should know about this project: it is listed as intermediate skill level, and it involves knit – not woven – fabric. ‘Nuff said.
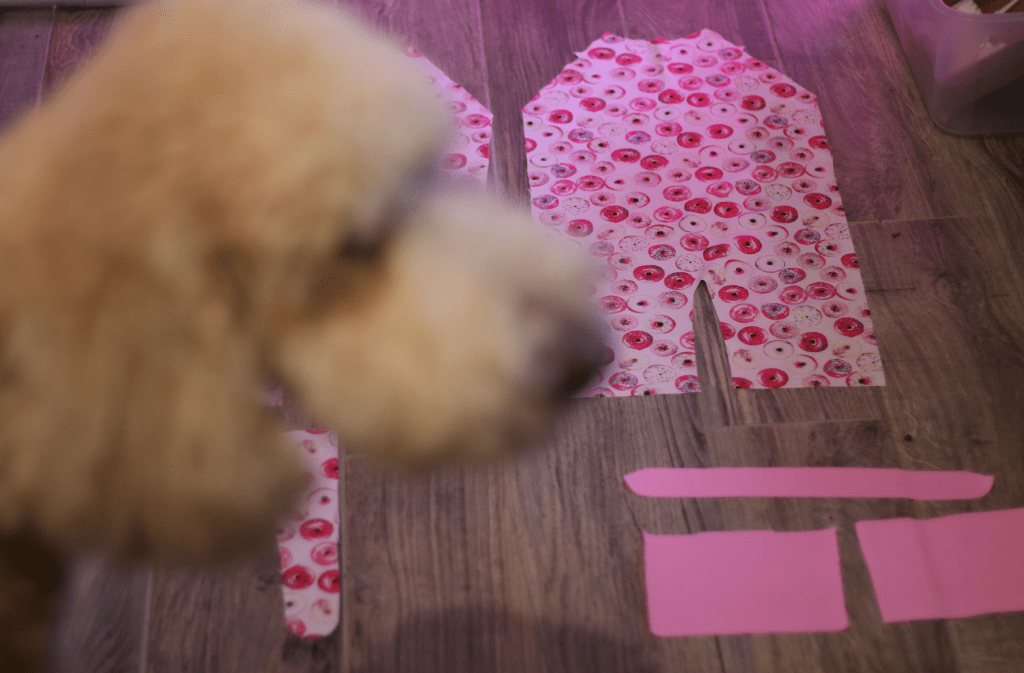
I used Peek-a-Boo’s Aloha Burn Blocker Suit sewing pattern and spent about a month making toiles until I thought I had almost nailed it.
Once my niece wore the “final” version, seams ripped. And then, if memory serves correct, I took it home and seam ripped everything and started again – only for the same outcome. What can I say? I suck at securely stitching the stretchy seams. I also failed at saying that five times in a row.

Then June came, and my husband and I went to Spain (my first Europe trip) for a lovely and hot nine days for our belated honeymoon.

I met some members of my family in Sitges – several for the first time!
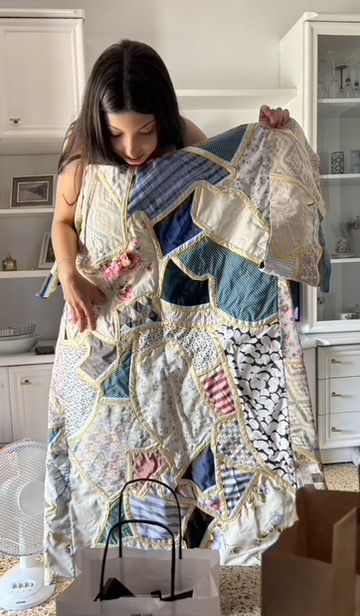
My cousin who went to fashion school in Spain showed me the patchwork project she hand-sewed for her final. It’s so beautiful – I told her it belonged in a museum.
I also spent a few days hanging out with dear friends in Madrid, who had a ten month old baby boy. I’ve known my friend since elementary school – crazy how time flies by – and I sewed her baby a button-down romper from Tiny Design (about $9)in a Double Cotton Gauze in Orange Rust from the Talamanca Collection from Mood Fabrics, for about $9/yard.
It came out beautifully (in everyone’s opinion), but it turns out baby boy is very big for his age, in addition to being very cute. So the romper was a bit snug, but, as my old friend said, “It’ll fit the next baby.” So there you go!
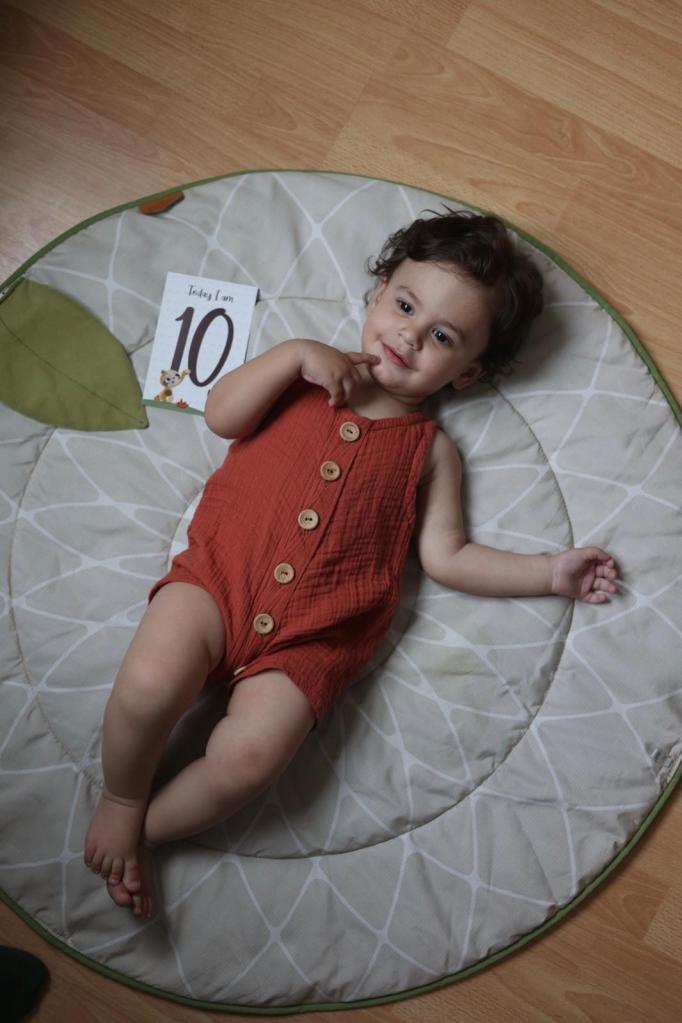
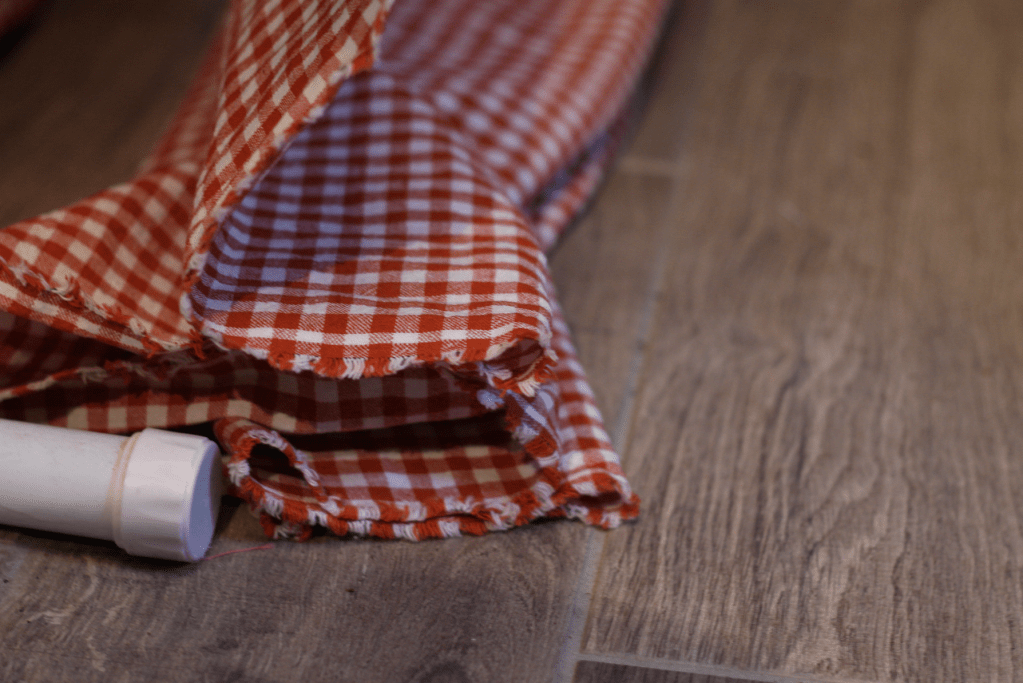
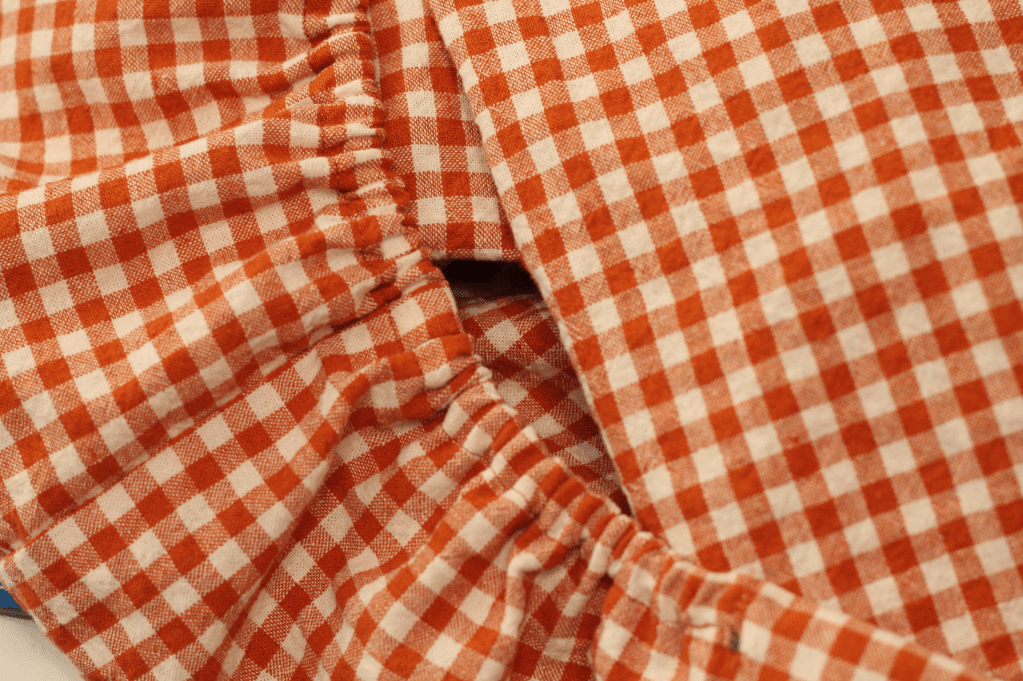
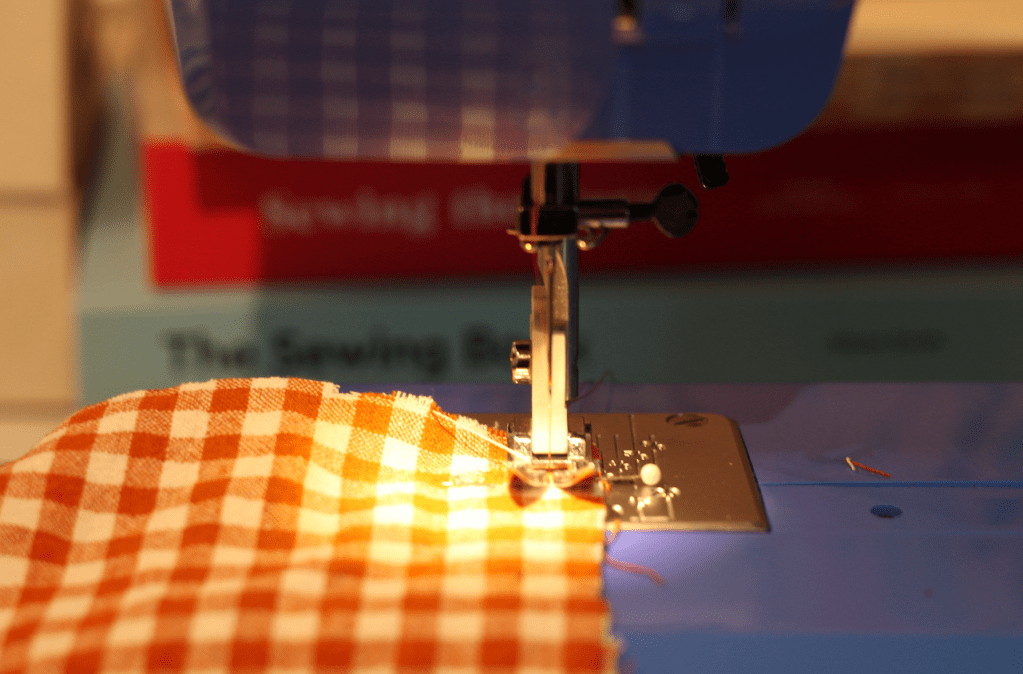
Look at this cutie! I also made him a fitted crib sheet made of a strawberry gingham linen-cotton mix from Robert Kaufman Fabrics, which fit perfectly, in my opinion! I’m not sure if the fabric is still available, though. I used WikiHow’s article on… how to do it.
In Spain and back at home, I’ve been wearing a set I made in the summer of a linen tank and skirt. The shirt pattern is called the Phoebe Essential Linen Tank from the Fabric Store, which was free at the time but is now about $10.
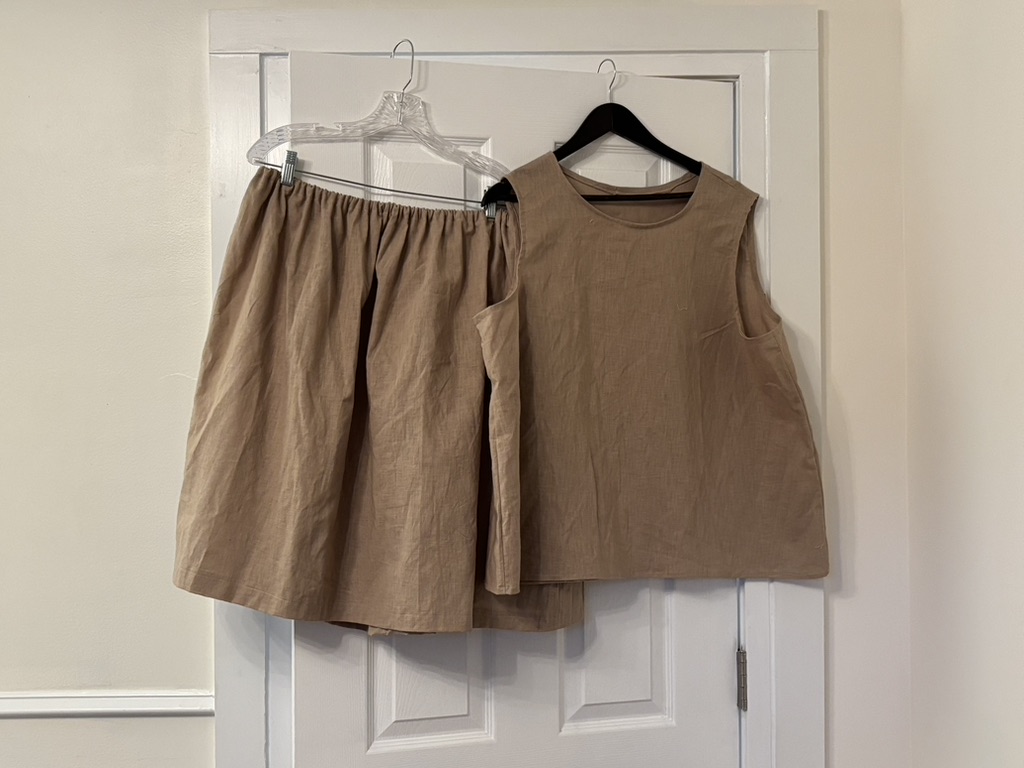
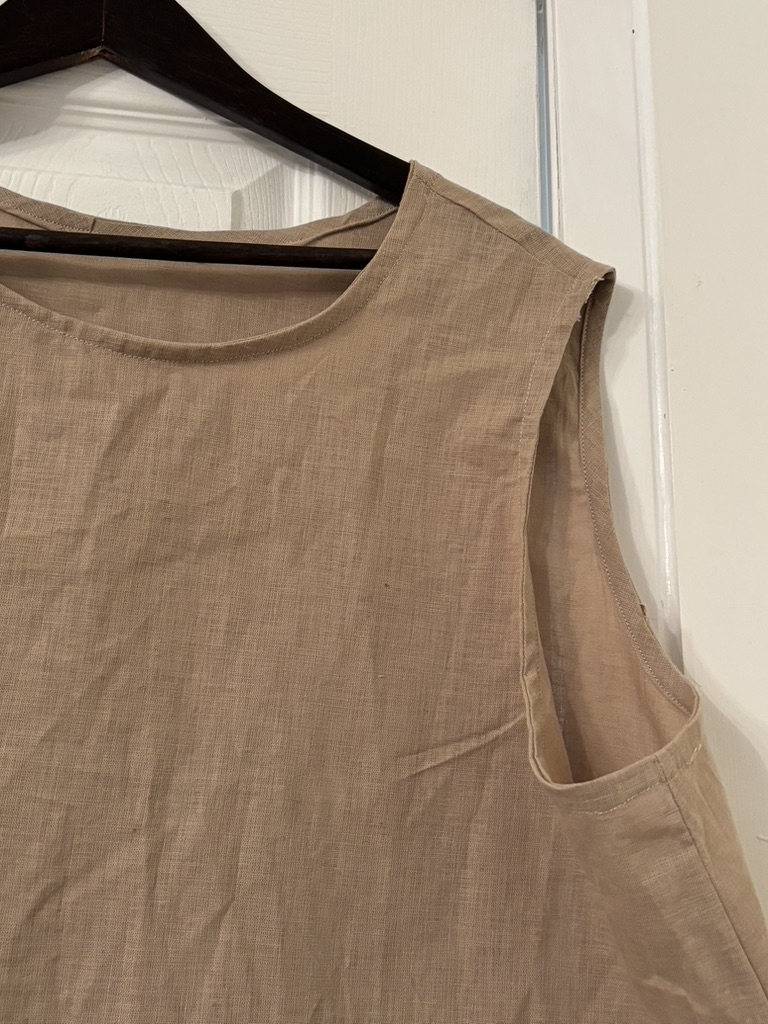
For the skirt, I used Mood Fabric’s DIY tutorial.
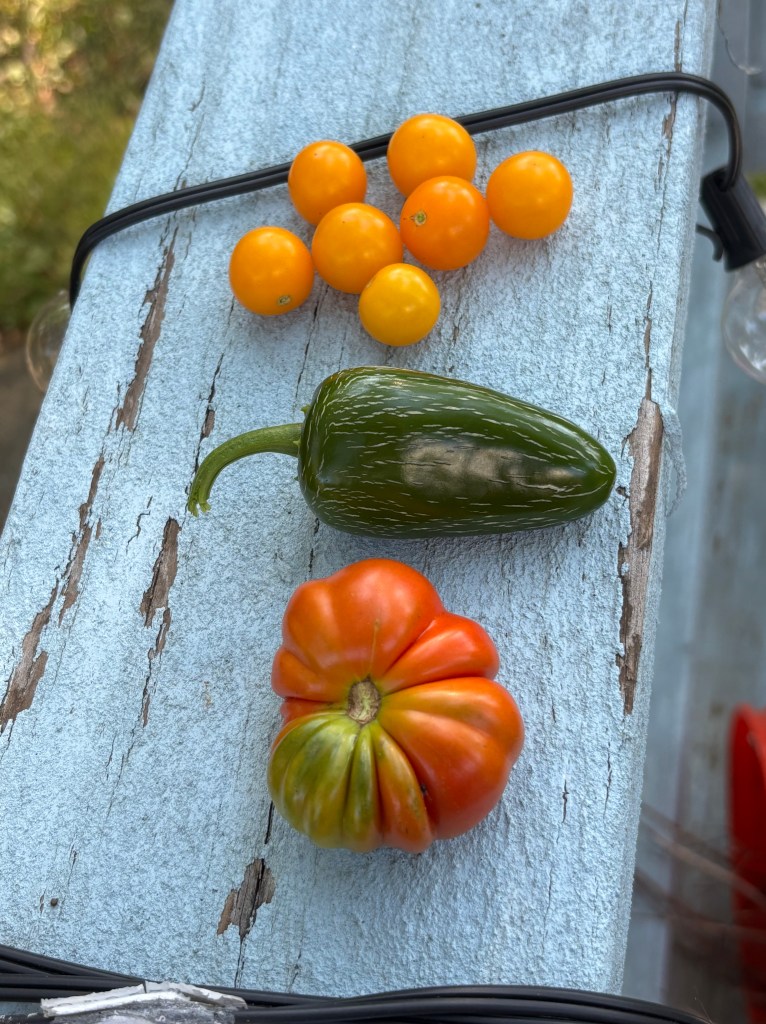
Upon our return to the U.S., the central air conditioning broke for six weeks during a June/July heat wave and I could not sew for the life of me. The garden was poppin’, though! #MightyHarvest
And then, I got a call from my sister breaking the news that her water broke nine weeks early while she was on vacation three hours from home by car.

It’s a bit of a blur, but I went to Florida the next day for six weeks. I spent three weeks at the hospital with my sister, awaiting the birth of my nephew; a week waiting for him to be discharged from the NICU; and two weeks with them both at my sisters’ house. I did a lot of cooking, cleaning, and of course, baby snuggling.
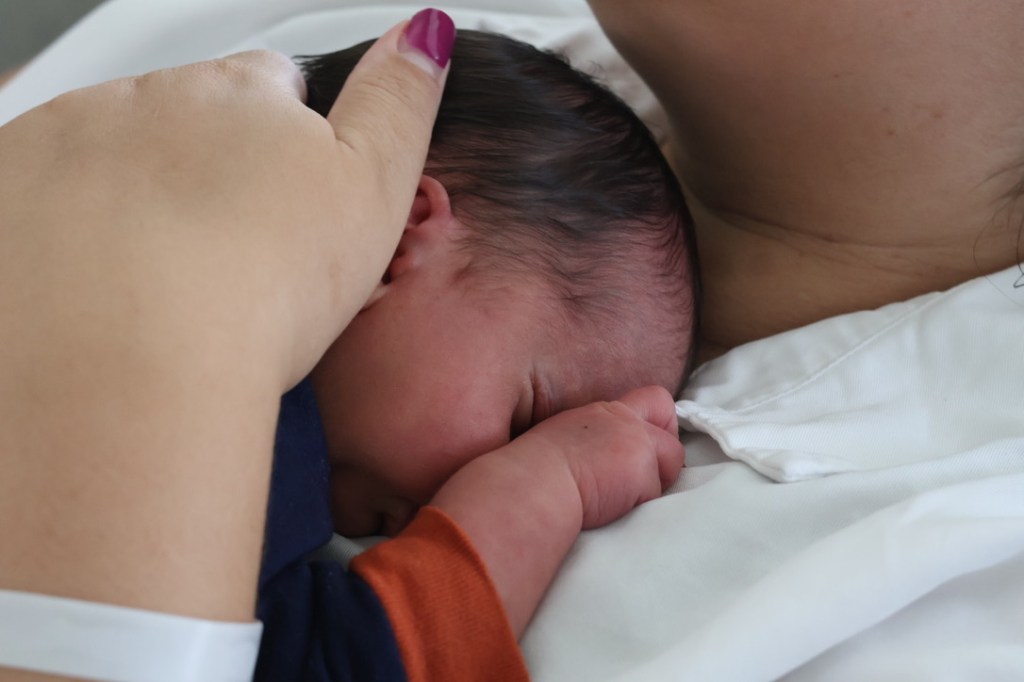
Isn’t he so cute??! I’m planning to sew him a dog stuffy out of his hospital blanket, so I practiced a bit while at my sister’s house. What I made is truly horrifying.

But that’s why we practice!
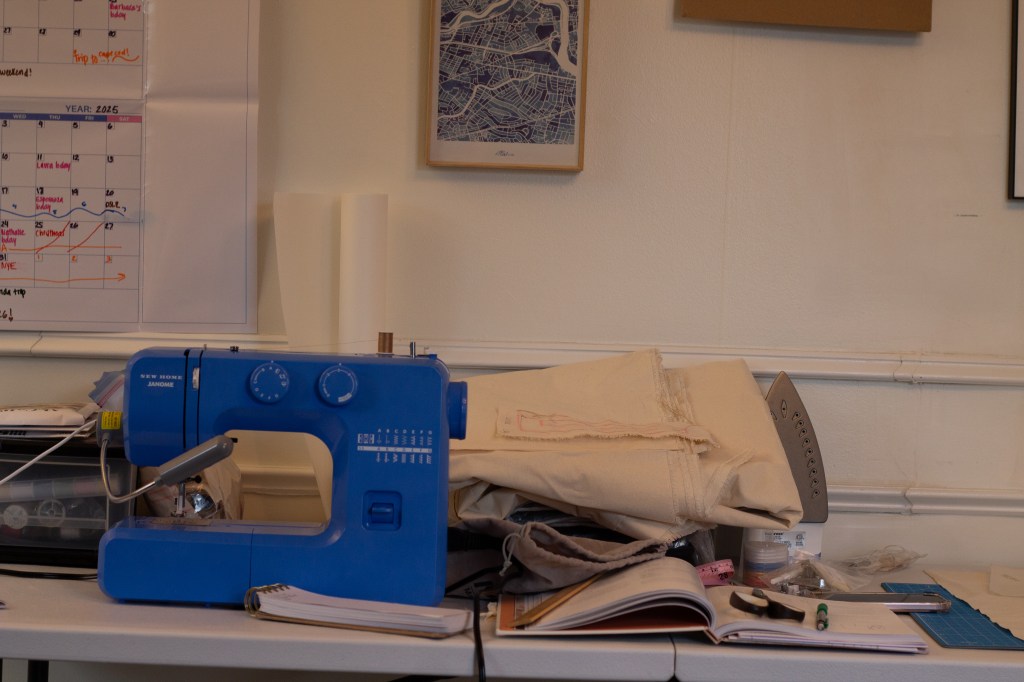
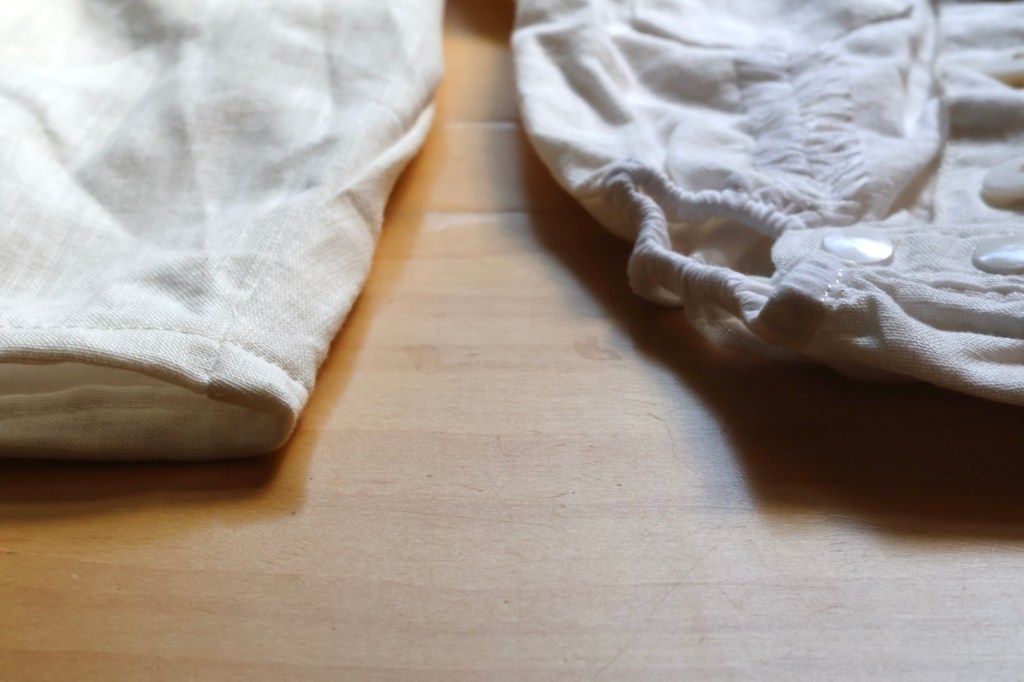
Today, I finished sewing a collared onesie and pants with pockets for his newborn photos and baptism in a couple of weeks.
I was the one who first called him a Milk Monster – because that is what he is. He has an insatiable need for ounces upon ounces of warm milk every couple of hours. If his demands aren’t met, there will be trouble.
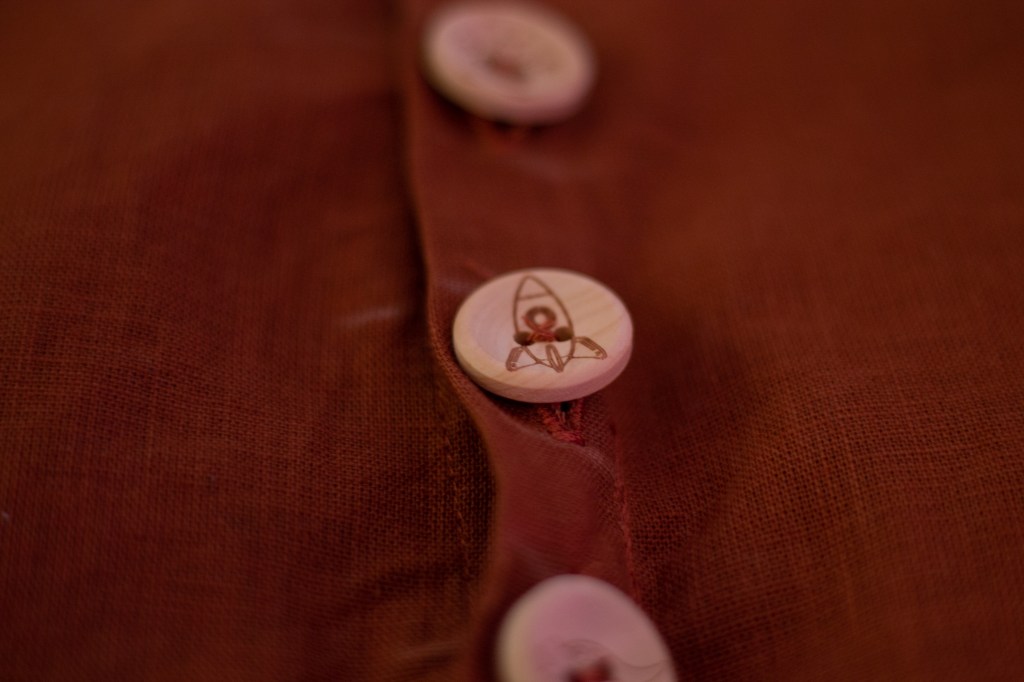
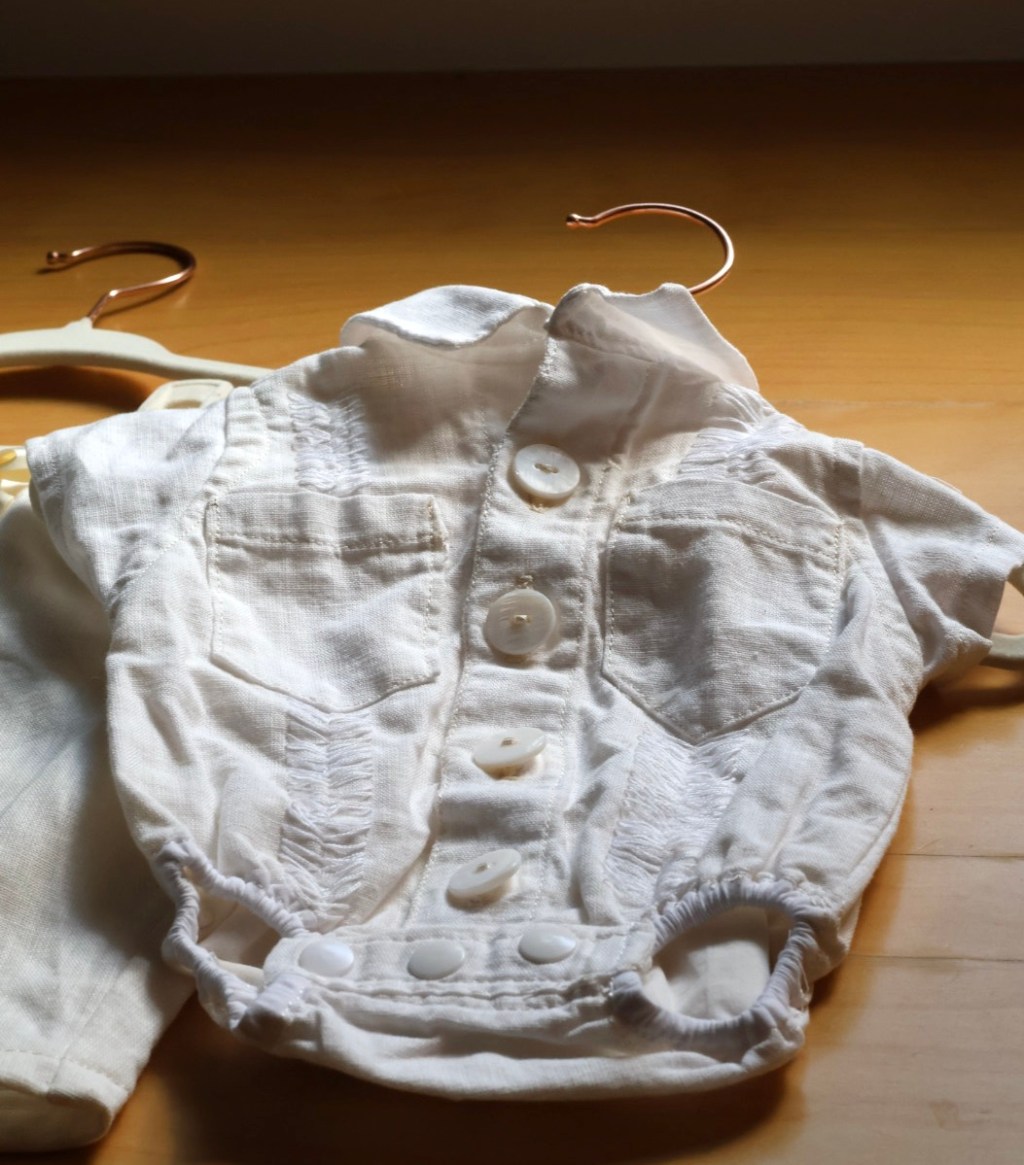
I can’t remember how exactly I got the idea to make a guayabera-style button down for a newborn, but here we are. Pass him a cut and lit cigar, and a Cuba Libre at Ball & Chain in Little Havana, and he’ll fit right in (just like his Tita a.k.a. me).
I’ve thought about making guayaberas for my husband and I for a while now, but was intimidated by all of the buttons and the collar. This mini version eased my nerves!
I knew I wanted to make something white because, well, it’s a Catholic baptism. And I have several yards of an off-white linen/cotton blend fabric from Fabric Wholesale Direct, called Mansa 4.1 oz 100% Cotton Woven Linen for about $7/yard. I did originally get it to do my sister’s maternity photoshoot dress, but alas, life happened.
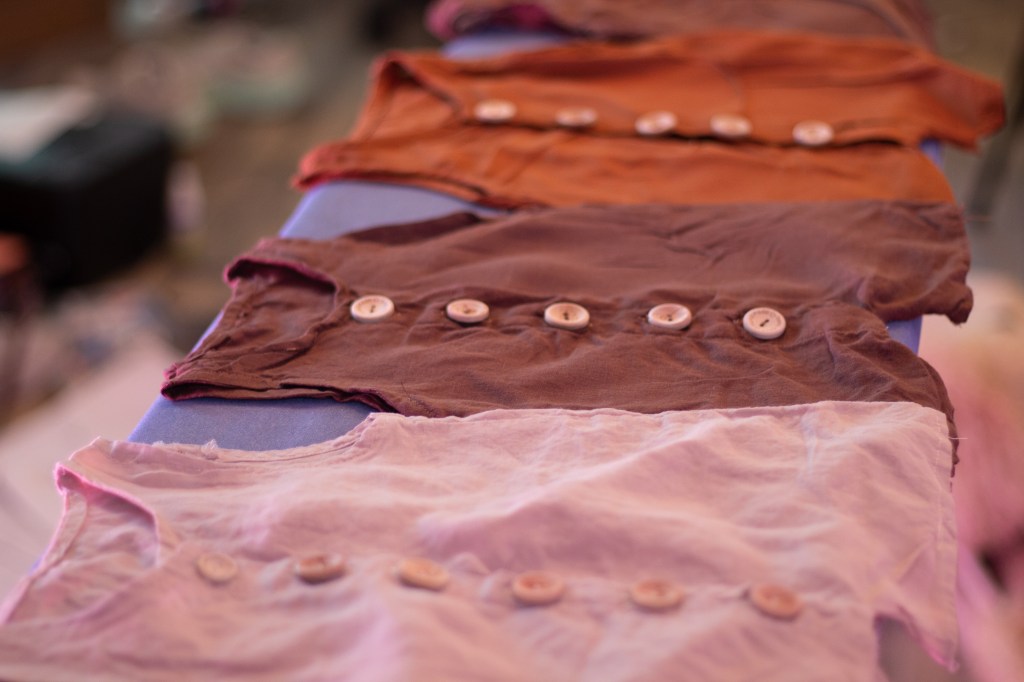
Side note: This onesie was actually the second pattern I tried; the first one is currently too large for him – even the newborn size.
Once I saw this collared onesie pattern (called Max & Matilda button-up bodysuit) from Peek-A-Boo, I knew I could make something with those two elements work. It’s available in sizes newborn to 4T and comes in long and blouse sleeve variations (about $10). It’s labeled as Advanced/Intermediate skill level, but I’m a confident beginner and did fine, I think.
So I pitched the idea to my sister and she loved it. And then I got to work!

I did not make a muslin/toile/practice version of the final onesie. There were some obstacles. No one is surprised.
For one, the off-white linen/cotton blend fabric is a bit sheer, so I lined the front and back panels with off-white cotton voile, which I got from Fabric Wholesale Direct at about $5 for one yard. It did the job!
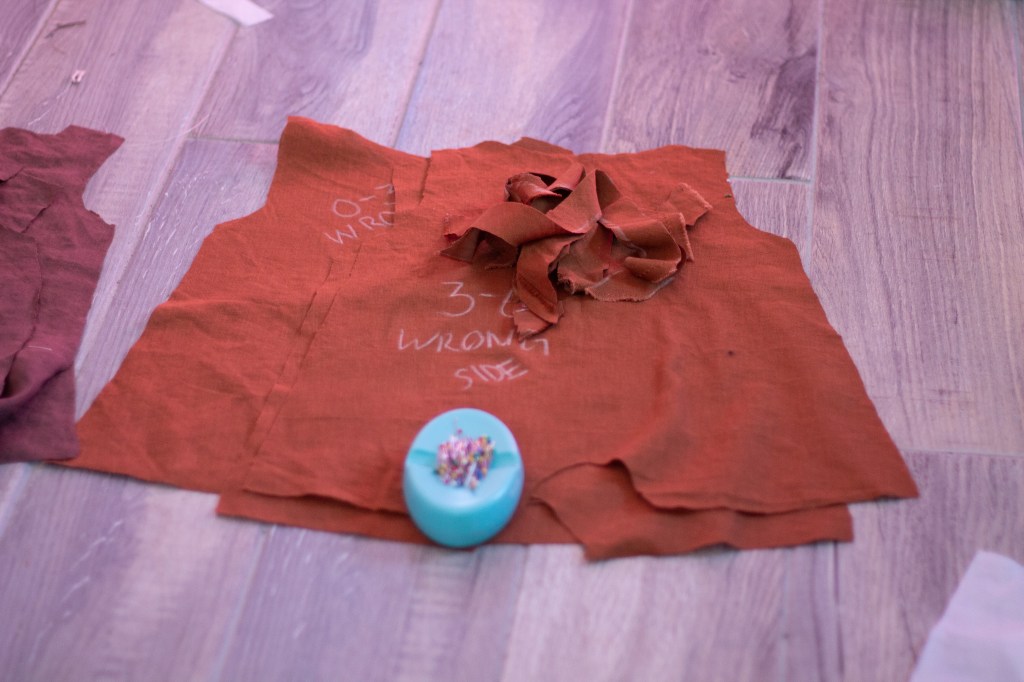
Marking the off-white linen in chalk or marker was going to be an issue, so I chose the lightest non-white chalk I had – a light, creamy orange.
Well, it took a lot of effort to get the chalk off the fabric. I used a toothbrush and cold water, then scrubbed Dawn dish soap and later vinegar into the fabric and threads. That only somewhat worked, so I went back to basics and doused it with Shout to set overnight. I machine washed it on delicates and cold settings, and checked one last time for stains once it air dried. Then, I radically accepted there was no way to completely remove the stains on the button hole threads. True story.
Also, the arm scythe didn’t catch all the way and I had to hand sew a hole in one of the arm pits.
The first snaps I used could not go through the layers, so I used a snap clamp to place other snaps. It worked! They are not aligned and the middle one is decorative, but oh well.
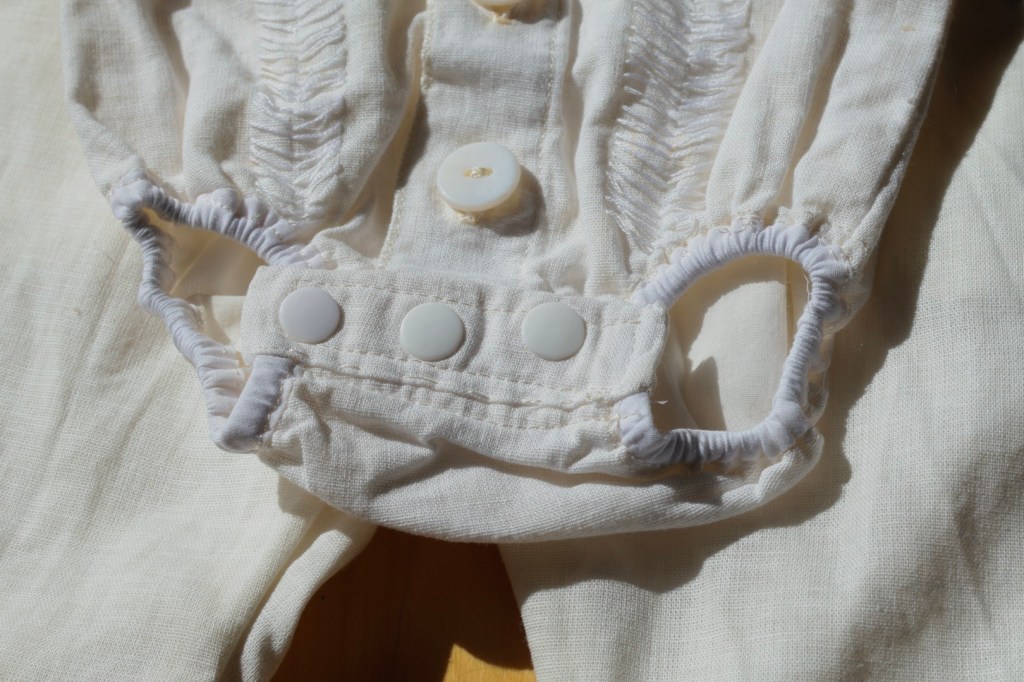
For the leg hole binding, I used pre-made bias tape from Amazon; about 22 yards for $8. It did the job, though it is not off-white. It was sewn on mostly neat, but I did end up adding a snap placket to cover up some exposed elastic band. Oh well!
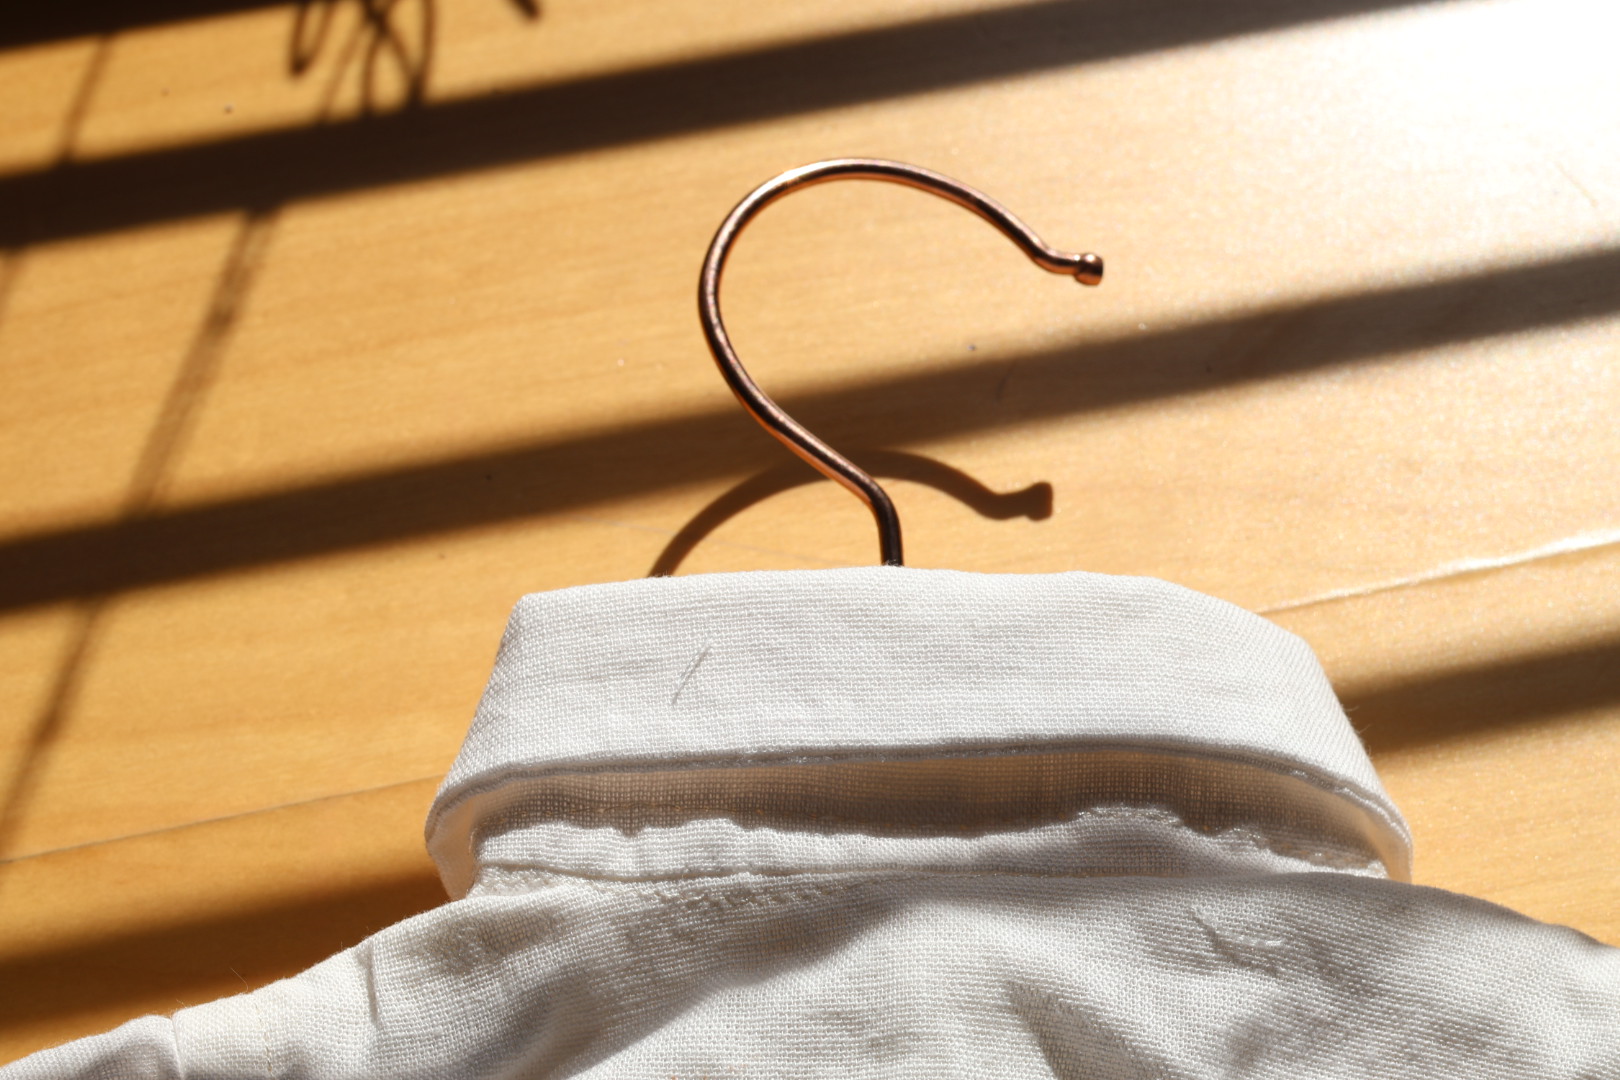
The first time I did the collar, it was very slanted and uneven, but anything is possible with a seam ripper! So, I redid it nice and parallel and such.

The collar stand overextended the collar by a lot, so I trimmed the excess of the collar stand (a step I inadvertently initially skipped), sewed it on again, and – as they say in The Great British Sewing Bee – Bob’s your uncle!
Another side note: Did you know you can watch all of the seasons on Roku TV? NOT AN AD!
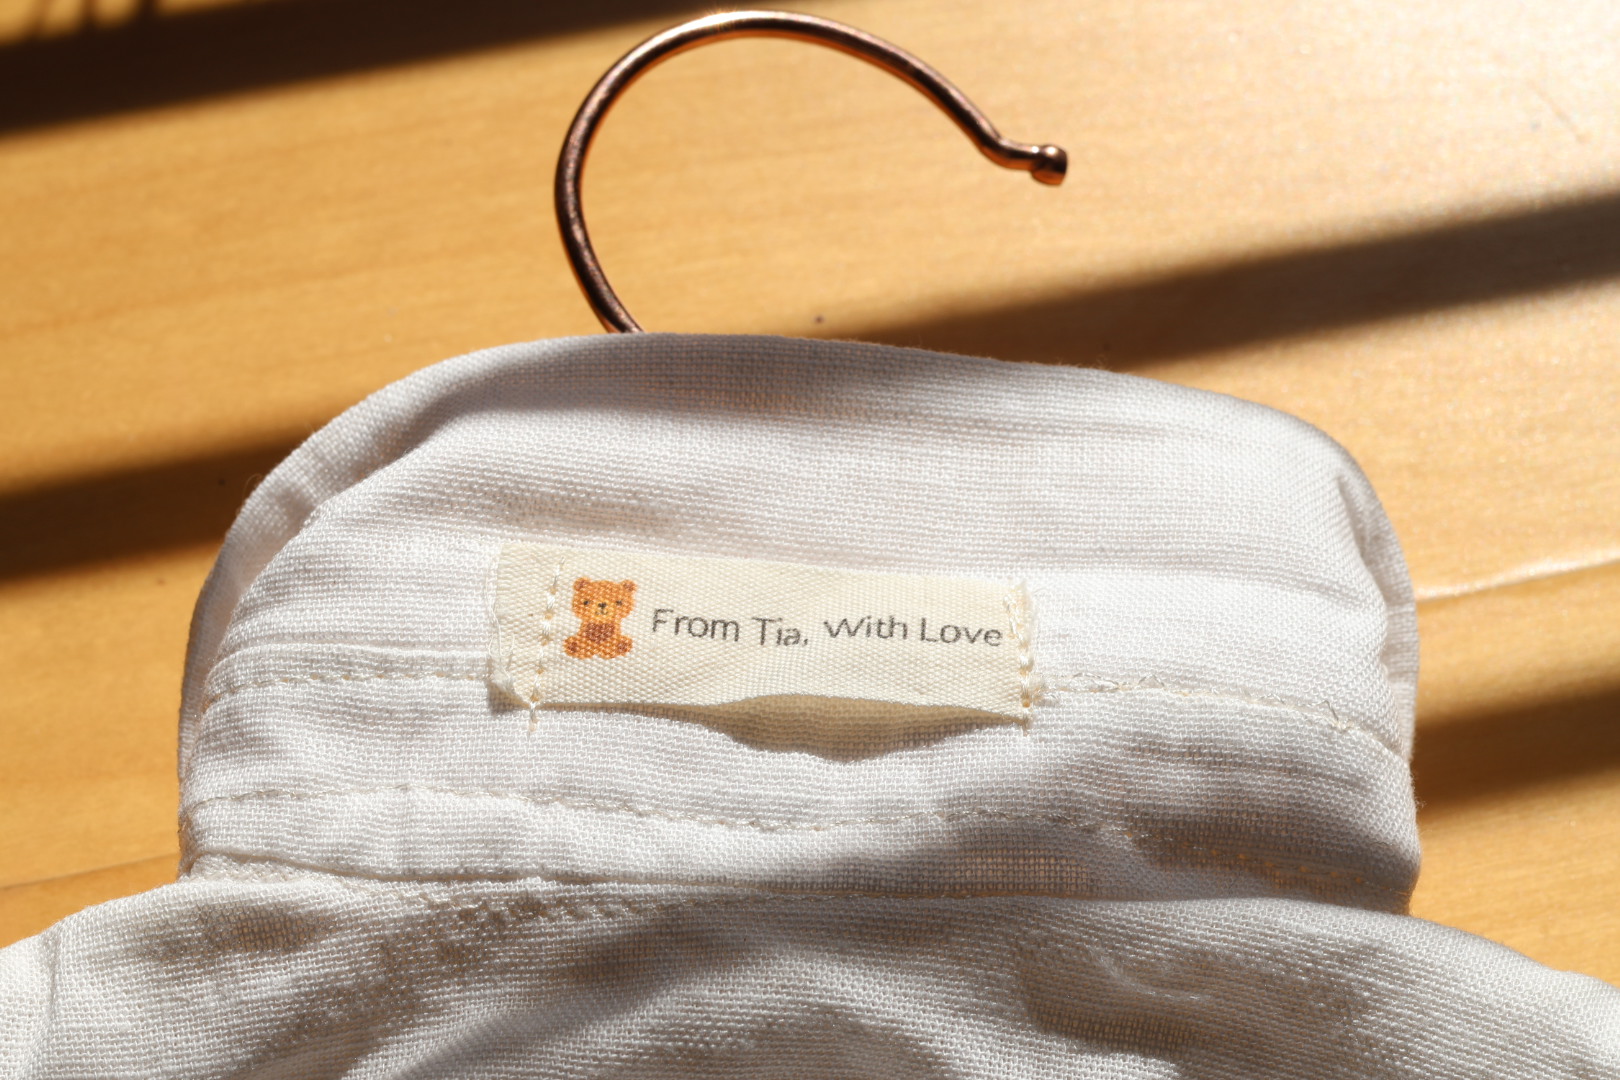
I got the customized garment tags from PacificlabelStore on Etsy, and placed one tag under the collar fold so it would not irritate his skin or show.
The buttons and elastic are from Amazon.
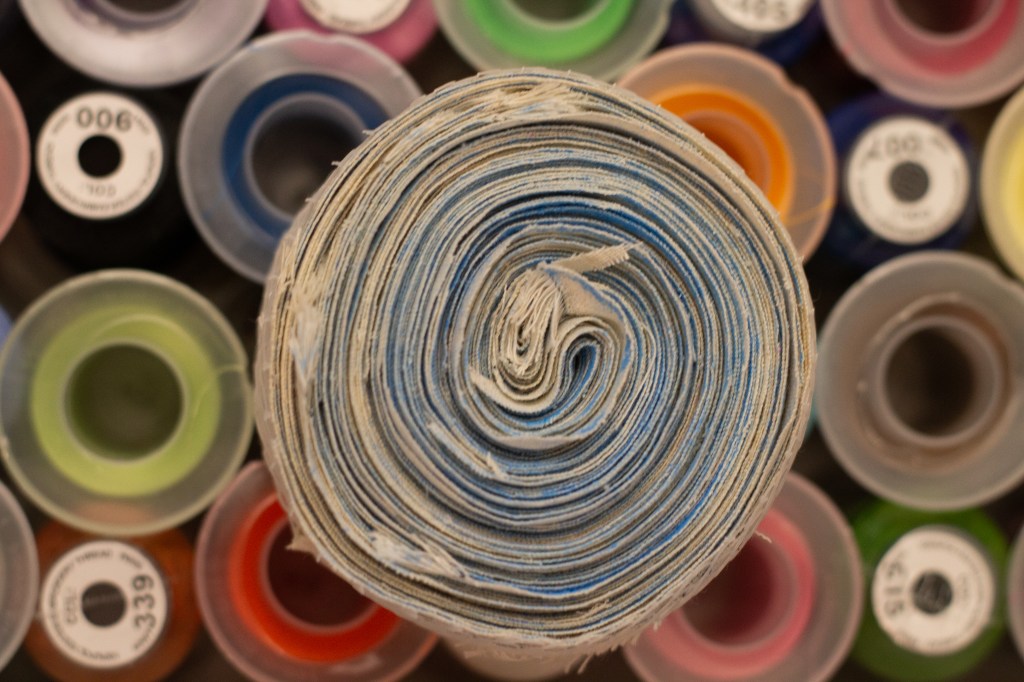
I found the embroidery floss at Rittenhouse Needlepoint in Philadelphia. I even brought the onesie with me to color match, and somehow I ended up with two very similar white embroidery flosses. I used this YouTube tutorial to learn how to do the arrowheads. Yay, YouTube University!

The pants (Ragamuffin Pants pattern from Wishura; about $11) were a breath of fresh air – super easy to put together and sew.
That being said, though, the first time I pinned the pants together to see how they would look, the leg hem was really off.
I was like, “Weird, I thought I cut the sewing pattern and fabric super carefully.”
The next day, after some sleep, I realized that the legs were upside down. Crises averted!

The pattern calls for pockets, which are not optional (as I realized, rummaging through the trash to find the pocket paper pattern!).

I made a bow out of Keedil’s Double-Face Satin Ribbon (about $12) using this YouTube tutorial, and ta-da!
All in all, the onesie took me two-and-a-half weeks to sew, and the pants just two days.
And what can I say? I absolutely executed!
All that is left is to mail these via UPS – which may be an issue, because I am meant to move tomorrow morning. Anyway, I am so excited!
Until next time!
P.S.: I have a few sewing projects coming up once I am moved in and unpacked, so I’ll keep on sewing!
Love,
Cynthia